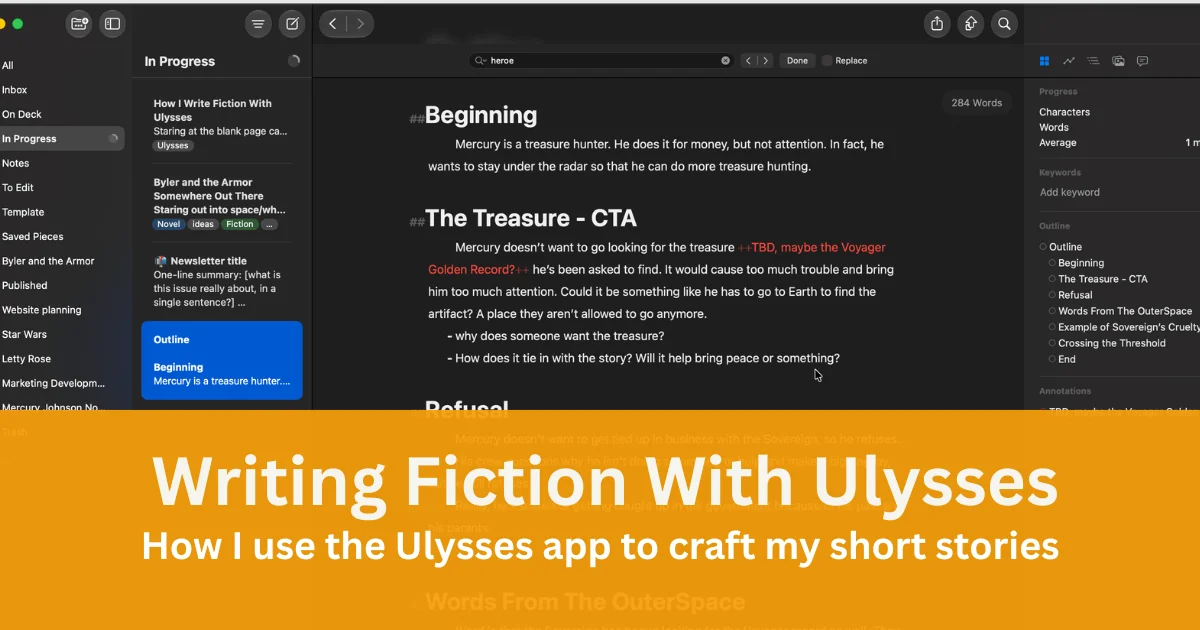
Staring at the blank page can be tough for any author.
While most of my content comes as blog posts about parenting, writing, or tech, I want to write fiction and create new worlds. Instead of finding a different app to help me draft my short stories or novels, I continue to write fiction with Ulysses.
The app is so fluid that I don’t even question it anymore. I just open up Ulysses, regardless of what I aim to write. Writing in Ulysses can help me move from the creation of an idea to the publication and every step between with ease.
So, here’s how I write fiction in the Ulysses app. This is the process I use to publish my short stories on the blog.
What is the best way to write fiction in Ulysses? I start with a brain dump on a blank sheet, no structure, just getting the idea out. Once I know why the story needs to exist, I build an outline using headings and leave myself comment-block notes for what each scene needs to do emotionally. Then I draft fast without worrying about grammar, revise using Ulysses’s Suggestion tool and iCloud versions as a safety net, and export to share with beta readers or publish straight to my blog.
Create A New Note For Fiction in Ulysses
When I get an idea for a story and want to start writing, I create a new sheet to house all my thoughts on the idea I’m working on.
I’ll title it (using the # sign as an H1) and brain-dump everything I’m thinking into the sheet. There is no organization, there’s no right or wrong, I just write.
Occasionally, I’ll start writing the summary of the story, or just write snippets of the story or idea.
Sometimes, if the story is hot in my brain, I’ll move on to the next phase, but often, just getting the idea down is enough for now. It helps me get my thoughts out and often as I’m writing down those thoughts, the ideas start to expand like a kids’ growth capsule toy.
Next, I’ll organize my sheet in my kanban style groups for access when I’m ready. Usually, these sheets will live in my Inbox or On Deck folder until I’m ready to tackle it once again.
Thematic Work — Figure Out My Why
When I return to my story, I’ll go back over my brain dump from earlier. I will write any other ideas that have percolated in my brain between writing sessions before I do anything else.
Hopefully, by this point, I have a good idea of what I want to say, but I’ll take a moment to figure out my why for the story. Why should this story exist? What is the lesson that my characters need to learn or express in this story?
Then, I’ll write out whatever I came up with just under the title. It’s a reminder as I draft of what I want to do with the piece. I won’t always stick to it during the draft, but it is a guiding message to myself.
Craft an Outline
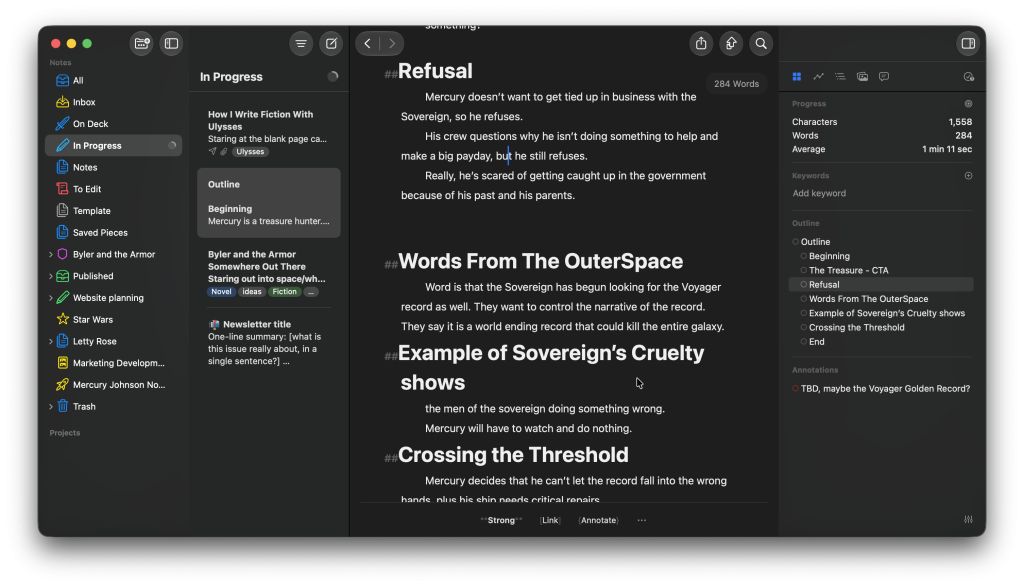
With the why figured out, I’ll spend a few minutes going through the story and creating an outline.
Back when I used Scrivener, I would use the notecard feature to plan out the steps on the story, but Ulysses doesn’t offer that.
When I write fiction with Ulysses, I’ll use headings to make an outline using the H2s (##) and h3s (###) and brief descriptions.
I like to work from the end of the story with my theme in mind. So, my outline very rarely gets written in order. Once I know the theme, the beginning and end fall into place easily because I know how my character needs to grow. Once those are established, I’ll work on the middle parts to see the change to the character while providing excitement for the reader. These headings won’t usually appear in the final draft, they are just for me.
I try to use my headings to explain what is happening in the moment or scene. I try to give a brief title or line to guide me, but I don’t get too bogged down with writing too much. Often times, I’ll even call it whatever the step of the hero’s journey it is, e.g., The Refusal.
After each heading, I leave myself a note by typing in a double % for a comment block. Then, I’ll explain what is supposed to go on in the scene in more detail and what the emotional change is. These notes appear in red, so I can see them clearly and not lose them.
These notes act like a map to guide me once I start drafting.
Draft
With my page no longer blank, it becomes easier to get started writing. I know where I’m going now, and what needs to happen.
Occasionally, I might have a word count goal in mind. If I do, I’ll select the target button in the dashboard (it’s right across from the Progress section) and set a word goal. This will help me reach my goal as I’m going. On the Mac, it provides a large circle target that updates dynamically.
While I write, I don’t get too bogged down with anything, I just want to focus and get the words on the page as fast as possible. I push CMD + . to hide everything in Ulysses besides the editor, turn on my writing Focus Mode and get to writing.
Grammar doesn’t matter. I might write some scenes that are mostly telling instead of showing. I’m just trying to get to the finish. It’s a bit of a sprint. If I stop, it’s likely that I will lose my focus and get distracted.
If there are some things that I need to change, I’ll just type a double + and leave myself a note to go fix it.
In fact, I like to leave myself these types of notes for later drafts. I have Ulysses set up to make those comments show up in red so they are easily visible, plus I can read the notes in the dashboard. Clicking those notes in the dashboard will take me right to them in the document.
Once I finish the draft, I’ll add a 1st draft keyword and tuck it into my “To Edit” group for the next stage.
Edit with Revision Mode
After the first draft is done, I’ll put it away for a little while. It’s helpful for editing to get that space away from it. When a work is fresh in my mind, I have a tendency to read things that aren’t there, like missing words or phrases.
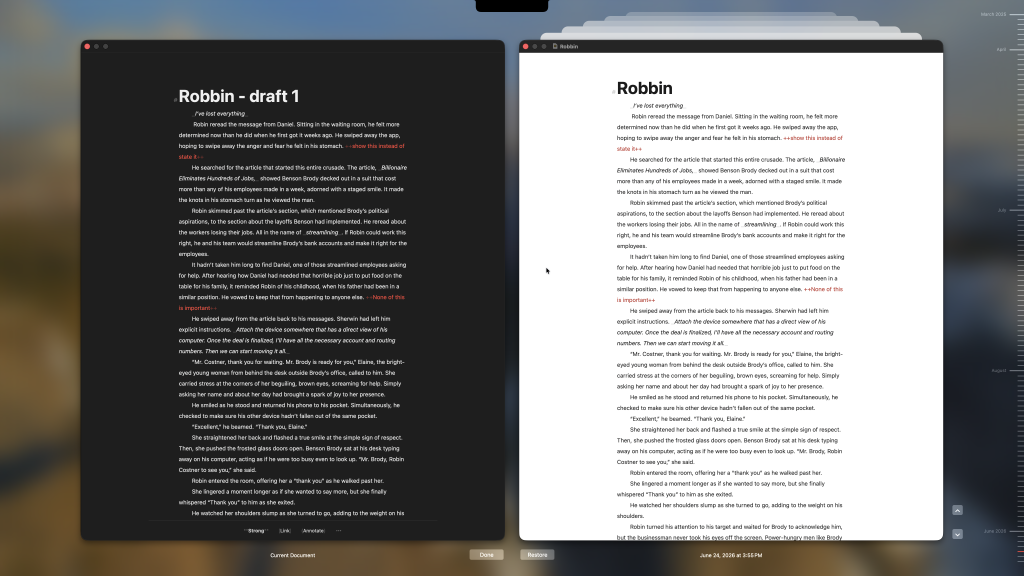
Before I make any major changes, I make sure that Ulysses has saved a version of my draft in iCloud (click File > Save version or cmd+S). Ulysses uses iCloud versions to track the changes made. If you ever need to roll back, you can browse your previous drafts through File > Browse All Versions. There, I can browse all the automatically and user saved versions to restore from if needed. It’s a really handy feature.
Once I’m certain I have a backup, I’ll give the draft a read through and change any noticeable issues first—things like typos, huge grammar issues, or plot points that didn’t go anywhere. I’ll click the Suggestion button in the dashboard (it looks like a check within a circle). Ulysses will examine the text and make grammatical suggestions, checking for word choice, repetition, vague words, and more.
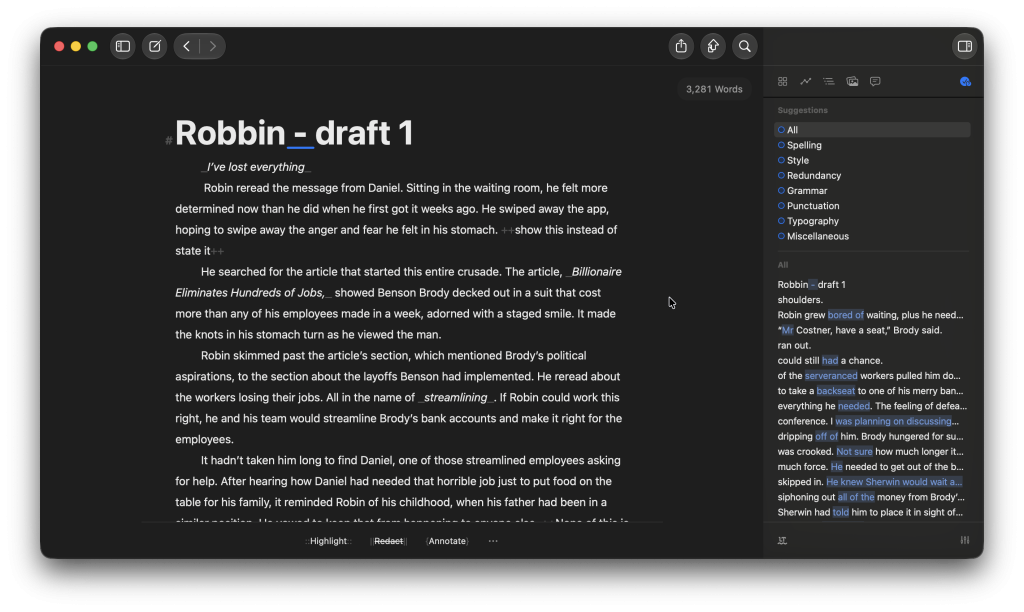
Of course, I’ll also be going through the text to make any structural changes the piece requires and address the notes I left myself.
Once I have a pretty good working draft, I’ll need to get it out to readers.
Sharing My Work
Unfortunately, Ulysses doesn’t have a collaboration feature built in yet. If I want to share my work, I’ll need to export or publish it.
Publishing will push the piece out to my blog while exporting can save my work as a text file, a text file with Markdown, a Word document, PDF, or straight to ePub. Ulysses also offers Styles as a way to export writing.
If I require a beta reader to look over my piece, I export it to a .docx file, upload it to Google Docs, and then share from there.
From here, I have the Google doc and Ulysses open and make the changes on the Ulysses side.
But exporting on the Ulysses app is seamless and a lot less intimidating than Scrivener.
Write Fiction With Ulysses and Build New Worlds
Everyone has their process. I found my process when writing fiction with the Ulysses app. The app allows me to flow between the different stages of writing, from idea to publishing.
I’ve written all of my fiction with it for the past four years, including my latest piece, Robbin’ and Mercury Johnson and The Black Lotus.
If you’d like more information on using Ulysses, make sure you stop by my Ultimate Ulysses guide. There you can find how-tos, getting started guides, and more. If you’re already sold on the app, make sure you use my link to save you 20% on your first year.
Do you have any questions about how to write fiction with Ulysses? Make sure to ask in the comments, I’d love to help you if I can.

Leave a Reply