Last week, I showed you how to navigate through the Apple Music tabs. This week, we’ll break it down a little more so that you know what to do when you’re listening to music inside the app.

For this example, I went to the Browse Tab and picked the Alt CTRL playlist. If you find an album that you’d like to explore, it will look just the same once you press on it.
The top of the screen usually has the album art, name of the playlist, who created the playlist, when it was last updated, the iCloud status, and a more button.
Of the options in the top third of the screen, the iCloud status and the more button Are what we want to focus on first. In this example, you can see the cloud with a down arrow. This symbol means that I have added the playlist to my library, but I haven’t downloaded the songs to the phone. Adding it to the library means that it will appear in your library tab. If you download the playlist, album, or song, it means that there is now a copy downloaded to your device. You now have access to the song even if you don’t have internet access.
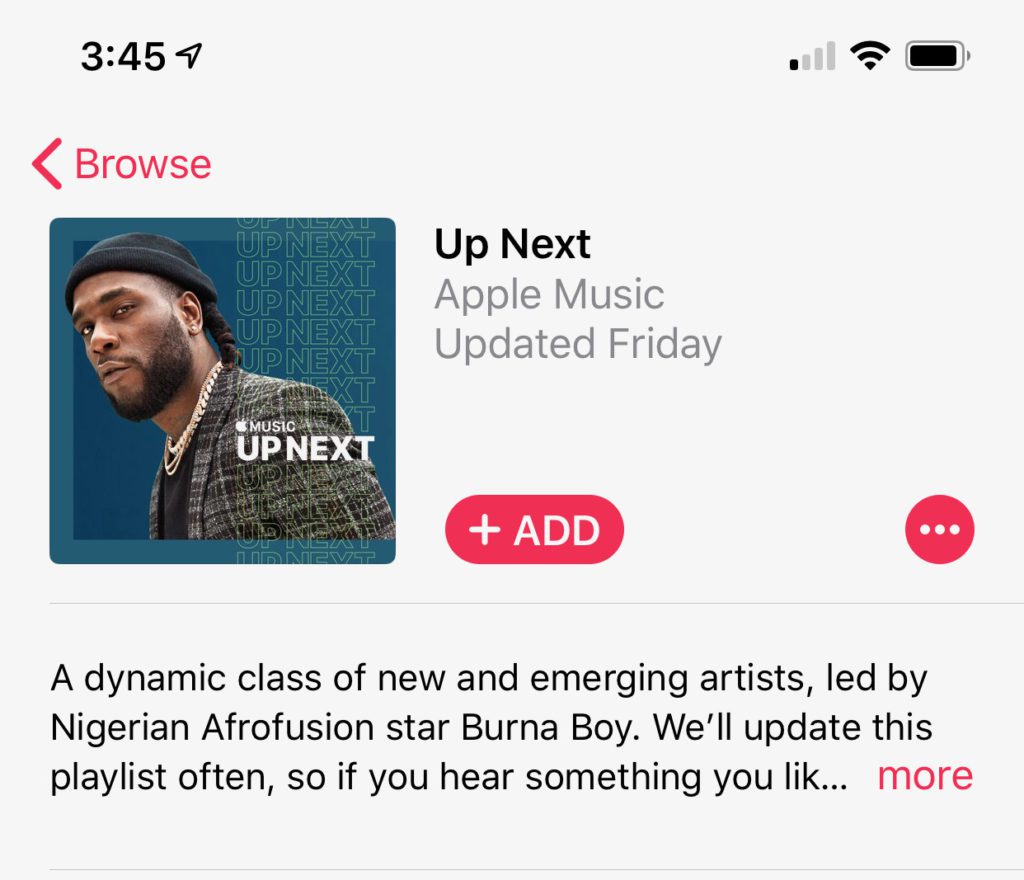
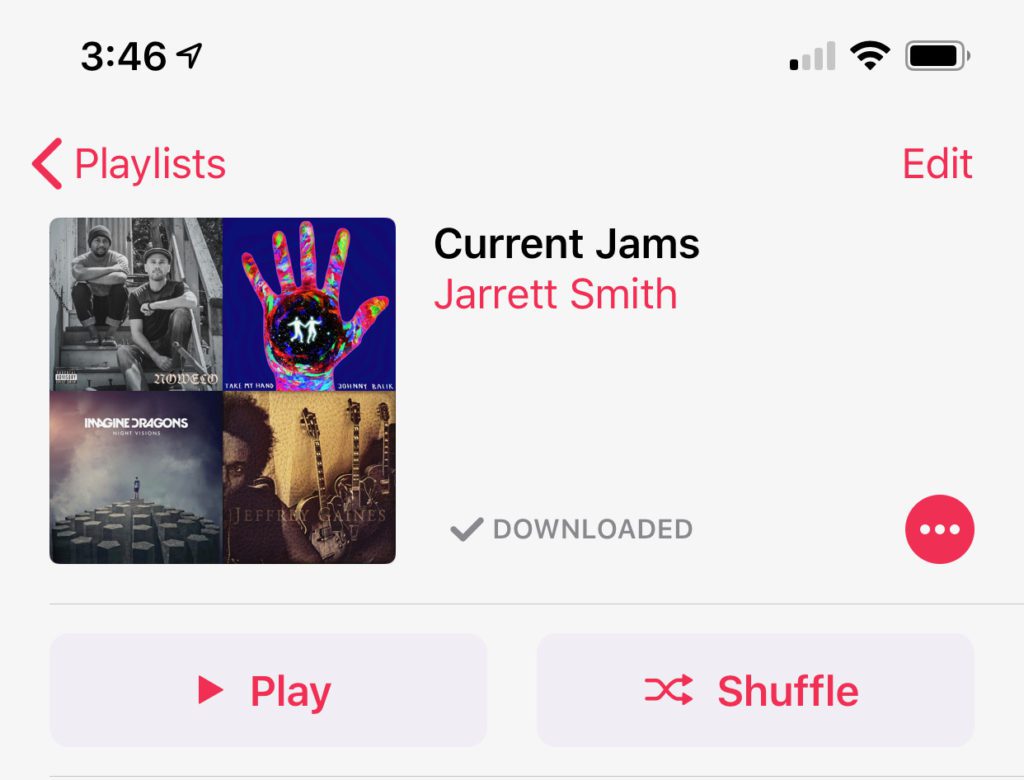
The other options that could appear in the iCloud status would be an +ADD button or a downloaded button.

Downloaded Playlist on Apple Music 
ADD playlist on Apple Music
If you’d like to add the playlist to your library, click the red add button. If you don’t want to add the entire playlist or album, but would like a particular song, you might notice the red + button beside every song. Press the button to add the song to your library. The iCloud symbol will show up. Press on cloud and your song will be downloaded.
I’ll get into the more button down below.
Playing a song

To start a playlist or album, you have three options. You can press the play button, the shuffle button, or pick a song and press on it. Play will start the playlist or album with the first song and continue in order. Shuffle will play the playlist in random order. Finally, if you pick a song, the start with that song and move forward. The songs above the one you picked won’t be played unless you have
This is the primary playing screen once a song gets started. You have album art up top, the scroll bar, controls, volume, and more.
You can use the scrub bar to navigate through a song and look for a particular part or see how much time is remaining. Forward, backward, and play is pretty standard as well as volume.
Then you might see the + or cloud button to the bottom left of the screen. Airplay is in the
Swipe Up While Playing for More

If you swipe up on the Now Playing screen, you’ll be greeted with the repeat and shuffle options, as well as what is about to be played next, and lyrics.
If you push, hold, and drag on the handles out to the sides of the music in the Up Next Queue, you can change the order in which you will hear music.
Repeat has options as well to repeat the playlist, in which case the entire playlist will be repeated. If you started the playlist or album from a different song
The More Button

The More button contains all the fun controls for Apple Music.
Pressing the More button brings up a menu that looks like the one here. If you are in a playlist and would like to check out the album or artist the song comes from, press on the small arrow at the top by the name. You should be taken right to the album.
Below that, you have the options to remove a song. You’ll be given an option to remove a download or remove the song from your library.
If you want to add the song to a playlist of your choosing, you can use that button to add it. Apple Music will bring up all your playlist for you to search through to add.
If you select the Create Station, Apple will try to play songs that are similar to the song you select.
There’s options to share a song to a friend or social media and another way to see the lyrics.
Finally, there’s the Love and Dislike option. If you find a song that you really love if you come to this place and select Love it will help Apple Music’s suggestions. Loving songs will help fine tune Apple Music’s suggestions in the created playlists and albums that is suggests to you.
The same thing happens with the Dislike button, only it tries to get songs similar to that one out of your recommendations.
Wrap Up
These are the tools to start listening and fine-tuning your Apple Music experience. Hopefully, this guide will make things easier for you getting started or learning how to better use the system.
Don’t forget to check out my other Tech Tip Tuesdays here to get the most out of your Apple systems.
Discover more from JSwordSmith
Subscribe to get the latest posts sent to your email.

