This week’s Tech Tip Tuesday I’m going to show you how to make a shared Photo Album in Photos.
In Photos on Mac and iOS devices, you can use iCloud Photo Library. This system uploads all your photos to iCloud for safe keeping and for storage. In theory, you shouldn’t need to delete any photos because it stores the full quality photo on the web and replaces the one on your phone or computer with a lower quality one. Of course, if you need to access the full quality one, you simply open the image and your device will download it from the cloud.
With iCloud Photo library also comes Shared Photo Albums. You can create a photo album which you can share with friends. Friends can upload to the album, love pictures, and leave comments. It’s like its own social media platform that you only invite your friends to.
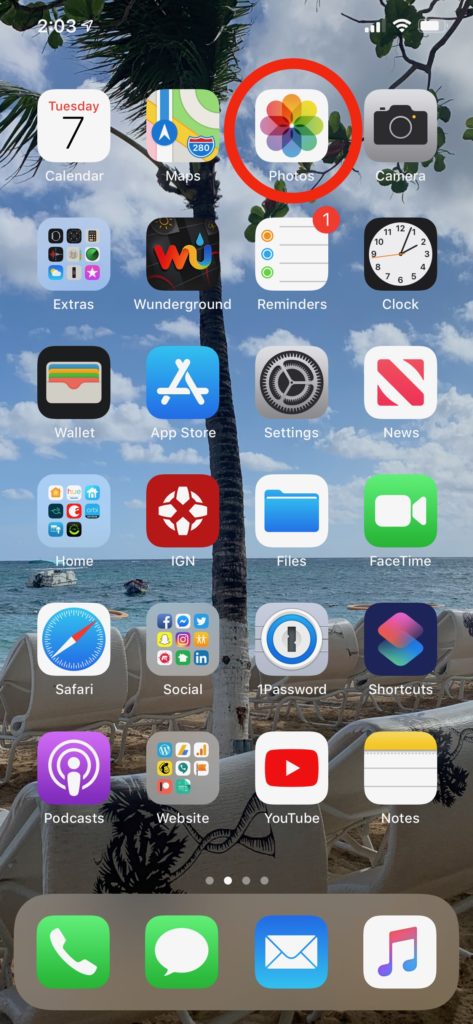
- Open the Photos app on your iOS device or Mac.
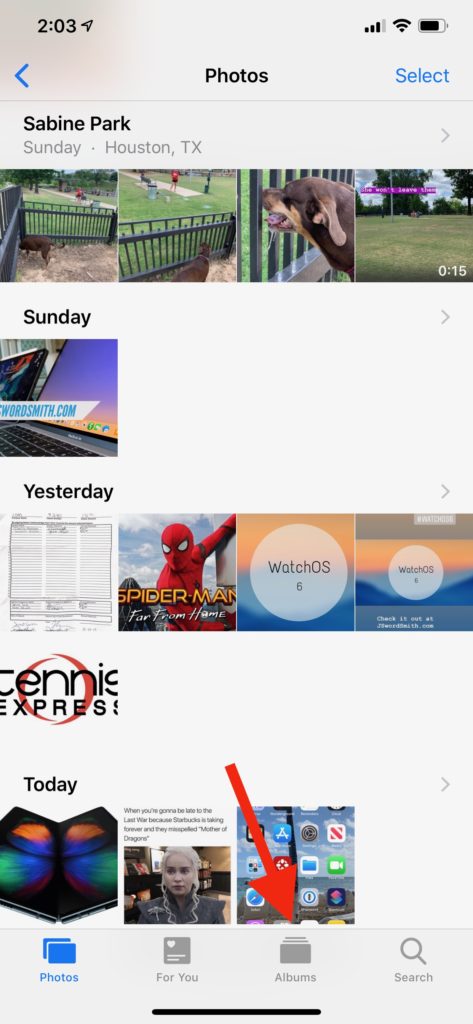
- Select the Album Tab at the bottom of the screen on iOS
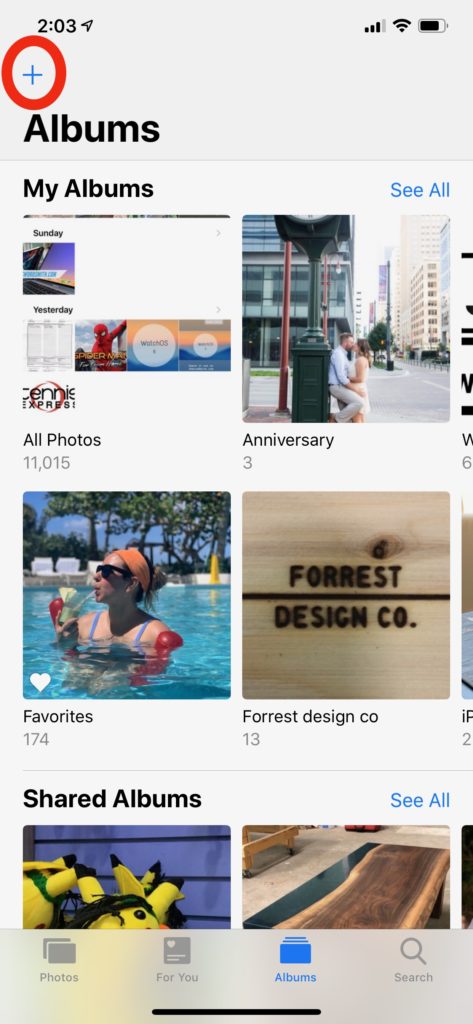
- On the Albums page, click the plus in the top right
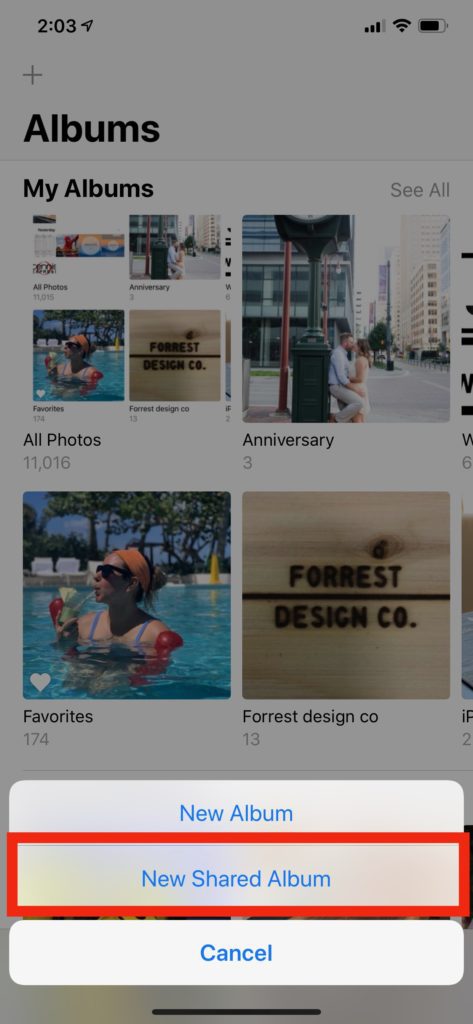
- A new menu should come up from the bottom that offers to create a New Album or New Shared Album. Select the New Shared Album
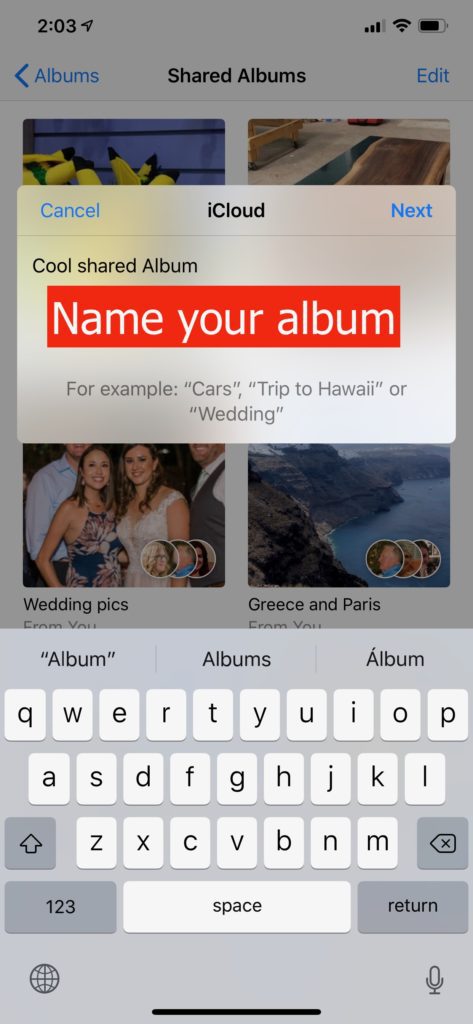
- Name your Shared Album (tip: use something the person you are sharing with will know). Once named, click next.
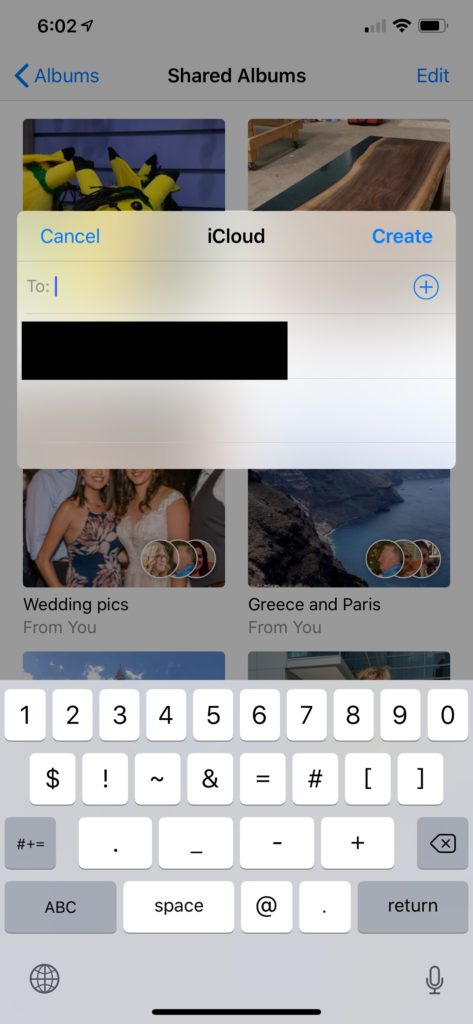
- Now, pick who you would like to share the album with. You can put more than one name. Only friends using iCloud Photo Library can share an album though.
- Your album has been created.
Add Some Images to Your Album
Now that your shared album has been created, you need to add some content.
- Your album should now be in your album tab. Select it.
- There will be a big plus button in the top left. Click it.
- You should see all your photos now. Go through and select the ones you want to add to the shared album.
You can also add photos to your shared photo album from the Photos tab or albums you already created.
- select any photo
- Go to the share sheet
- Find the Shared Album Button
- Add a comment if you’d like and select which Shared Album you’d like to share it too


Wrap up
This Tech Tip was requested this week. If there’s a tech tip you’d like to see, e-mail your request or hit me up on Twitter or Facebook!
Of course, if this helped you out, make sure you share and follow along. Also, check out the other tech tips!
- Change the double tap on your AirPods
- Customize Control Center
- Deal with text on your iPad
- Customize the Dock on your Apple Watch
- Log into your Mac with your Apple Watch
- Multitasking on the iPad
- uickly switch apps
Discover more from JSwordSmith
Subscribe to get the latest posts sent to your email.


